Trusted by over 25 million users
Powerful Forms for Salesforce
Automate your sales process with Jotform. Quickly build lead forms that instantly sync with your Salesforce account, helping you save time and close more deals.
Automatically integrate your form data with your Salesforce database
Build the perfect form in 2 minutes
Get a head start with ready-made Salesforce Form templates. Easily customize professional forms in just a few clicks!
Send data to Salesforce
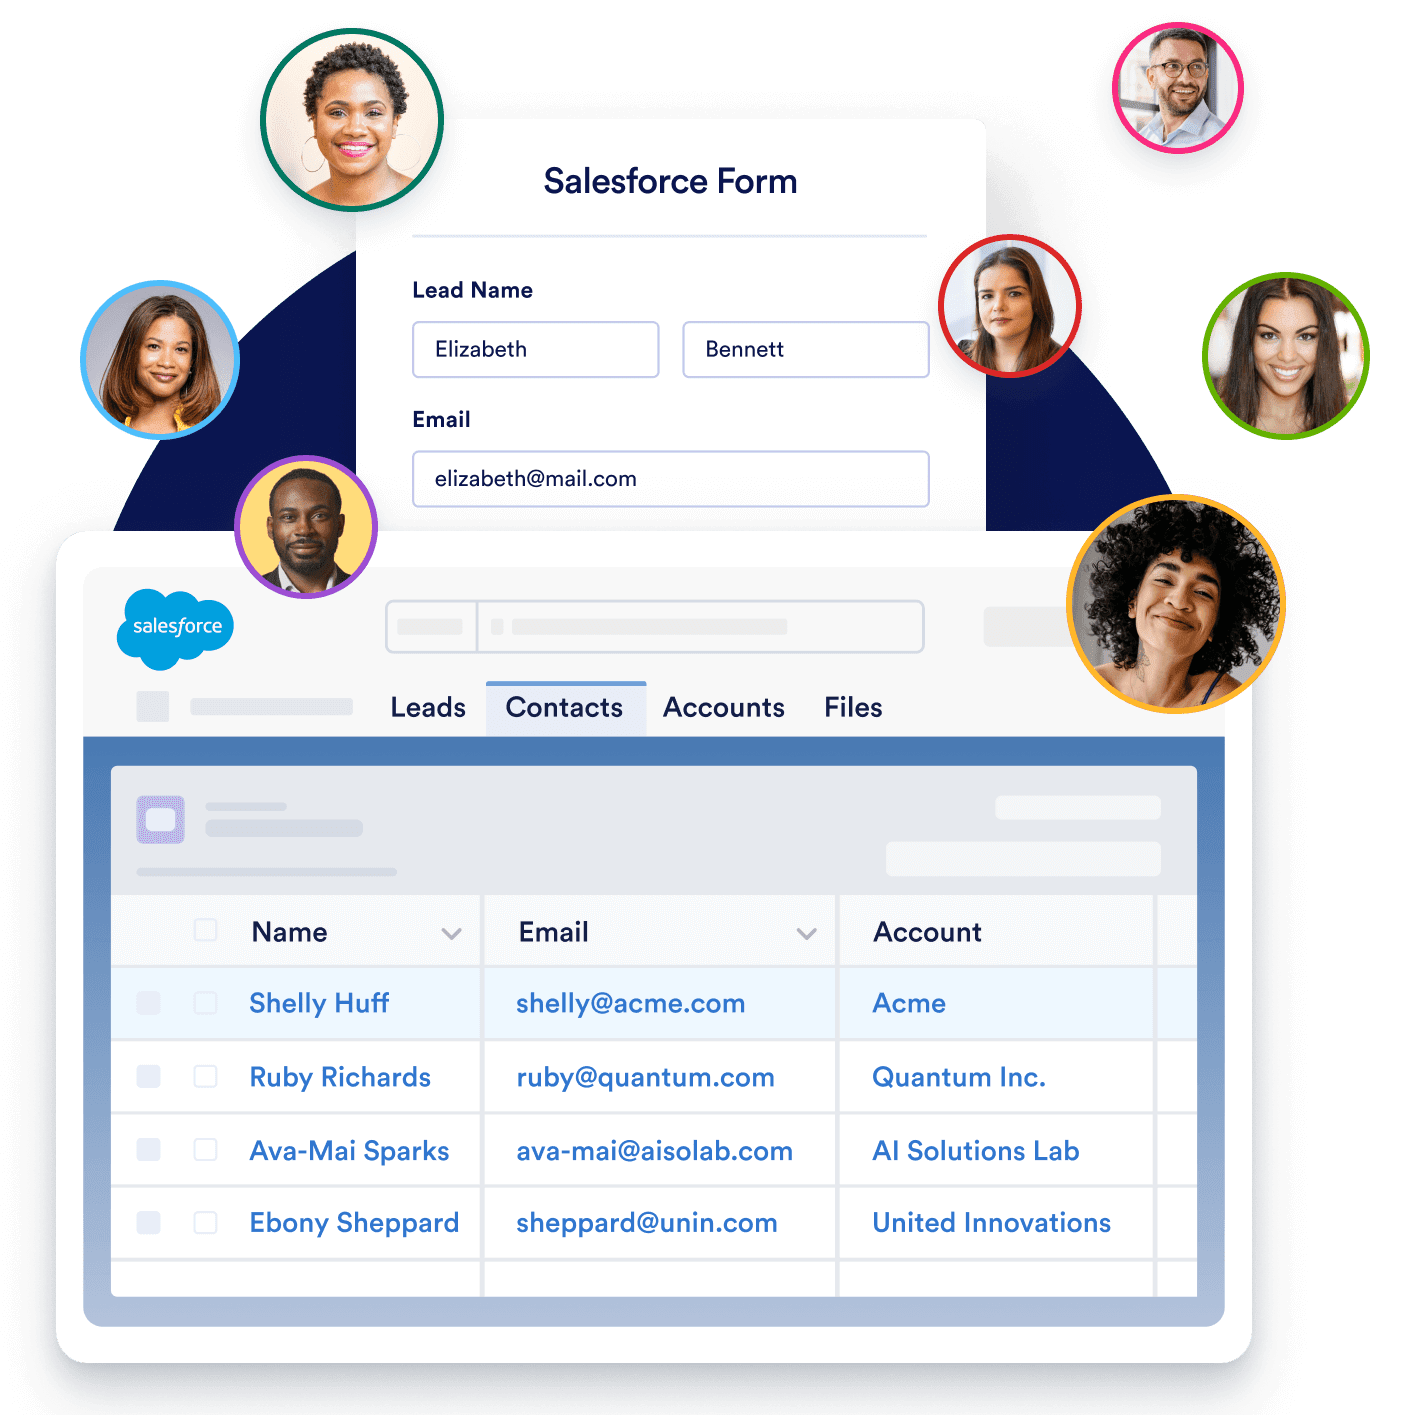
Salesforce Forms are already connected to your Salesforce CRM, so your form data automatically goes to your Salesforce database.
Automatically integrate your form data with your Salesforce database
Build the form you need in minutes
Create your ideal form from scratch or customize a free template with our form builder. Send via email, share by copying and pasting a link, or embed the form in your website so users can fill it out anytime.
Get the App — It’s Free!Dynamically prefill your forms with real-time data

Streamline data management with Salesforce Dynamic Prefill. Effortlessly pre-populate forms with the latest Salesforce information and provide a personalized experience with forms tailored to each respondent. Automatically sync data in real time to eliminate manual entry and reduce errors.
Get the App — It’s Free!Keep your data in Salesforce
Sync your data and manage it all within Salesforce to maintain consistency across your CRM. Simplify your workflow by keeping everything in one place and maintain full control over your data.
Get the App — It’s Free!Use full-suite of products
without leaving Salesforce
240+ Integrations & Payment Gateways
Your data is safe and secure
Ensure all your data is synchronized and managed within Salesforce, maintaining consistency across your CRM. Simplify your workflow and keep everything in one place, giving you full control over your data.
Jotform for Salesforce is available on AppExchange!
FAQ
-
What is Jotform for Salesforce?
Jotform for Salesforce is a powerful online form builder and workflow automation tool that’s available on the Salesforce AppExchange. Jotform for Salesforce can benefit any organization that needs a powerful data-collection tool, no matter its industry or size.
-
How can you benefit from using Jotform within your Salesforce account?
When you use Jotform within your Salesforce account, all data collected through your forms automatically populates the associated object in Salesforce. Benefits include, but aren’t limited to, seamless data capture, enhanced lead generation, improved data quality, and an integrated user experience.
Additionally, by using Jotform for Salesforce you’ll gain access to a wide variety of useful features and tools, including ways to build no-code apps and PDFs, collect e-signatures and file uploads, generate reports, and automate your workflows.
-
How can I integrate Salesforce with my form?
To integrate Salesforce with your form, start by installing Jotform on the Salesforce AppExchange. After installing the app, open it by clicking on the App Launcher icon and searching for “Jotform.”
Once you’ve launched the app, click Create Salesforce Form, select an object to create a form for, select the object fields you’d like to add to your form, and then click Create Form. Your form will now be ready to collect data and automatically send it to the linked fields in your Salesforce account.
If you’d like to access Salesforce via Jotform, you can add the legacy Salesforce integration to a form in the Form Builder. To do this, open the Jotform Form Builder and select the form you’d like to connect with Salesforce.
Click Settings, then go to the Integrations tab and search for “Salesforce.” Click the Authenticate button to link your Salesforce account. If you’ve already linked your Salesforce account, feel free to select it from the dropdown menu.
After connecting your account, choose either Create or update a record or Find a record. Pick an object from the list and map your form fields to the data fields from your chosen Salesforce object. Once you’re finished, click the Save button and you’re done! Your form data will now be sent to Salesforce every time a submission is received.
-
Can I get notified when an error happens in my Salesforce integration?
Yes! Integration logs can help you identify and resolve any integration issues — reducing downtime and data discrepancies. Combined with error notifications, integration logs enable you to take immediate action when an error occurs instead of manually checking the logs yourself.
-
Is Jotform for Salesforce free?
Yes, Jotform for Salesforce is free. Users on Jotform’s free Starter plan can enjoy up to 5 forms, 100 monthly submissions, and 100 MB of storage. If you need more forms, submissions, or storage, consider upgrading your account to one of our paid plans. For company-wide access, inquire about our Enterprise plan.
-
How can you access Jotform on Salesforce AppExchange?
To access Jotform on the Salesforce AppExchange, simply search for “Jotform” in the AppExchange search bar. Click Get It Now and follow the instructions to set it up.
-
How do I set up Jotform for Salesforce?
To set up Jotform for Salesforce, start by installing Jotform in the AppExchange (as explained above). Click Get It Now, and follow the setup instructions. After you install the app, you can decide whether to install it for Admins Only, for All Users, or for Specific Profiles.
You can then open the Jotform app by clicking the App Launcher icon and searching for Jotform. Log into your Jotform account or create one for free, then follow the final instructions to finish setting up the app. You should now be able to access Jotform on Salesforce AppExchange for all your form creation needs.
-
Under which clouds is Jotform served in AppExchange?
Jotform works on Salesforce’s Sales Cloud — a fully customizable CRM platform that consolidates customer information. Use it to automate administrative tasks, manage leads and client information, close deals, and gain crucial insights into your business.
-
Can I dynamically prefill forms with data from Salesforce?
Yes! When you add Salesforce Dynamic Prefill to your forms, you can dynamically prefill them with data from Salesforce — meaning the data that automatically pre-populates your forms will always be the most up-to-date information in your Salesforce account. To connect your forms with Salesforce, go to the Publish tab of the Jotform Form Builder. Select Prefill from the menu on the left and then Salesforce Prefill. Complete the integration setup to add Dynamic Prefill to your forms.
-
Does the new Salesforce Dynamic Prefill work with custom objects?
Yes. With the new Salesforce Dynamic Prefill, you can prefill your forms dynamically from any Salesforce object, including custom objects.
You can also prefill your form from multiple objects by connecting multiple prefill sources.
-
I have many contacts under my Salesforce account. Is it possible to automate prefill link generation?
Yes, it is. All you need to do is copy the live prefill link under your prefill settings and paste your lookup field's unique identifier at the end of the URL. You can then use this link in your email templates or custom buttons inside Salesforce, and customize it with merge fields. When combined with Salesforce's automation tools, Jotform's Salesforce Prefill feature allows you to distribute personalized emails at scale, enabling efficient form distribution with minimal effort.
-
How can I create individual prefill links for my selected contacts?
To create individual prefill links for your selected Salesforce contacts, go to the Publish tab of the Jotform Form Builder. Select Prefill from the menu on the left and then Salesforce Prefill. Configure your prefill settings, then open the Personalized Links tab. Click the Create New Links button and select the records for which you want to create specific form links.
-
How can I send form file attachments to Salesforce?
With our improved Salesforce integration, you can now send file uploads and form submission PDFs to Salesforce. This option automatically attaches the selected files to the relevant object’s record.
To send file attachments to Salesforce, in the Form Builder, click Settings, then go to the Integrations tab and search for “Salesforce.” Click the Authenticate button to link your Salesforce account.
After connecting your account, select Create or update a record. Pick an object from the list, and map the necessary fields. At the bottom of the page, open the Attachments toggle and select the files you want to attach to your record. Once you’re finished, click the Save button. While the form data automatically goes to Salesforce with every new submission, selected files will be sent as attachments to the newly created record and can be reached from the Notes & Attachments section.